Installation
MxOps
Dependencies
MxOps heavily relies on the multiversx-py-sdk written by the MultiversX team and requires a python version of at least 3.10. As the MultiversX team has a very high release rate, we strongly recommend to have a dedicated environment for MxOps to avoid any dependencies conflicting with your own projects.
Recommended installation with UV
We recommend to install MxOps with uv, and to install it as an independent tool: this will create a dedicated environment for MxOps and MxOps will be callable from anywhere in your system
Install uv:
curl -LsSf https://astral.sh/uv/install.sh | sh
Install MxOps as a tool
uv tool install mxops
Check that MxOps was installed successfully:
mxops version
Installation with pipx
You can also install MxOps in a dedicated environment with pipx
pipx install mxops
Installation in a conda environment
If you prefer to create your self an environment, you can do this with Anaconda
conda create -n mxops_env python=3.11 -y
conda activate mxops_env
pip install -U mxops
Installation in a virtual environment
Or in a virtual environment with uv:
uv venv .venv --python 3.11
source .venv/bin/activate
uv pip install -U mxops
Install a development version
If you want to install the latest development version, use directly the github url to the develop branch:
uv tool install git+https://github.com/Catenscia/MxOps@develop
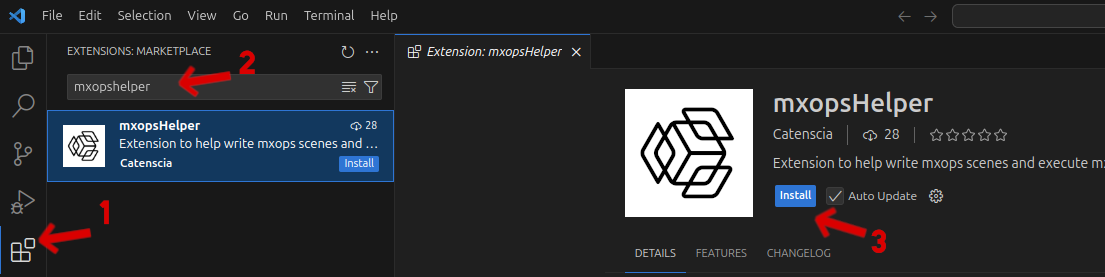
VSCode Extension
The Visual Studio Code extension mxopsHelper has been created to help users write their scenes by providing templates. We recommend using it as it greatly simplify the process of creating scenes: You won’t have to remember the syntax as this extension will offer you auto-completion.
Docker
If you are planning on using the chain-simulator, you will also need docker. Please refer to the official installation steps.
Next Step
You can now heads up to the next chapter to learn how to write your first scenes! 💪